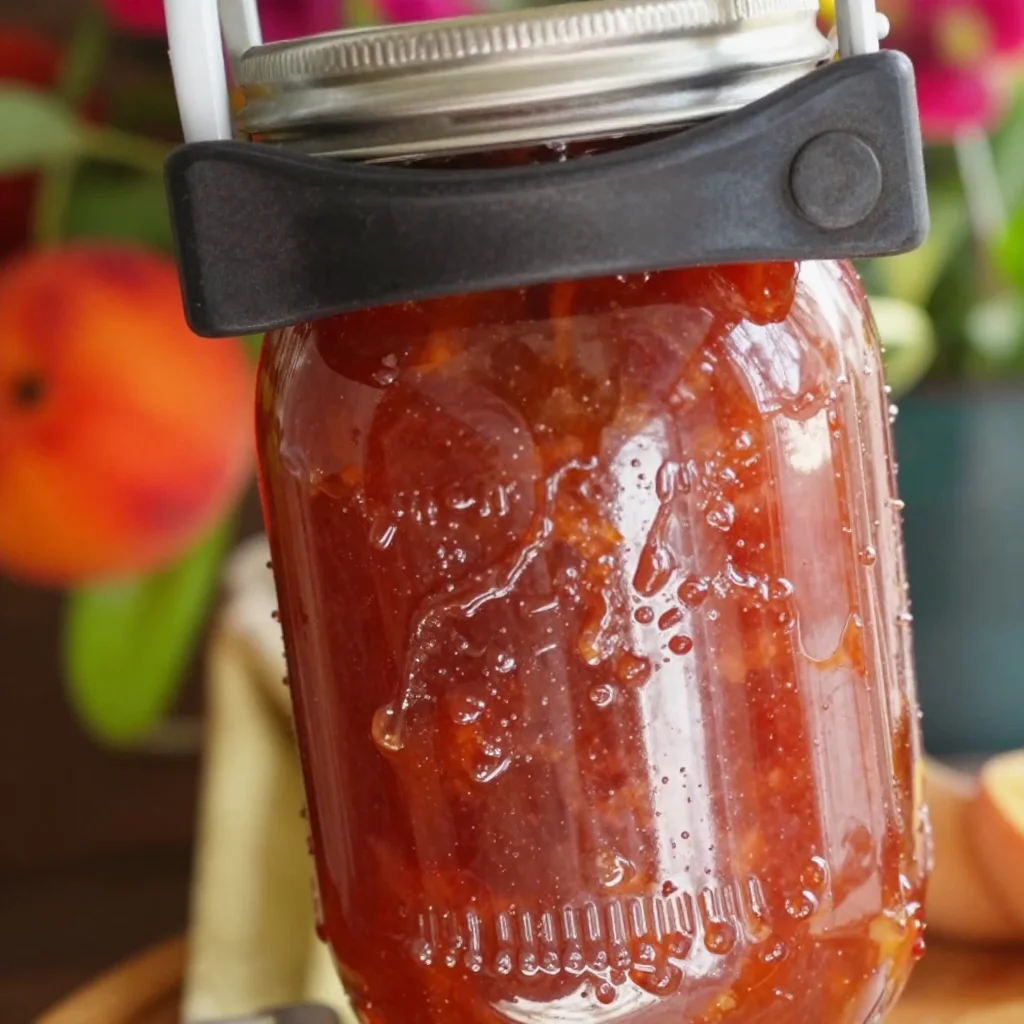
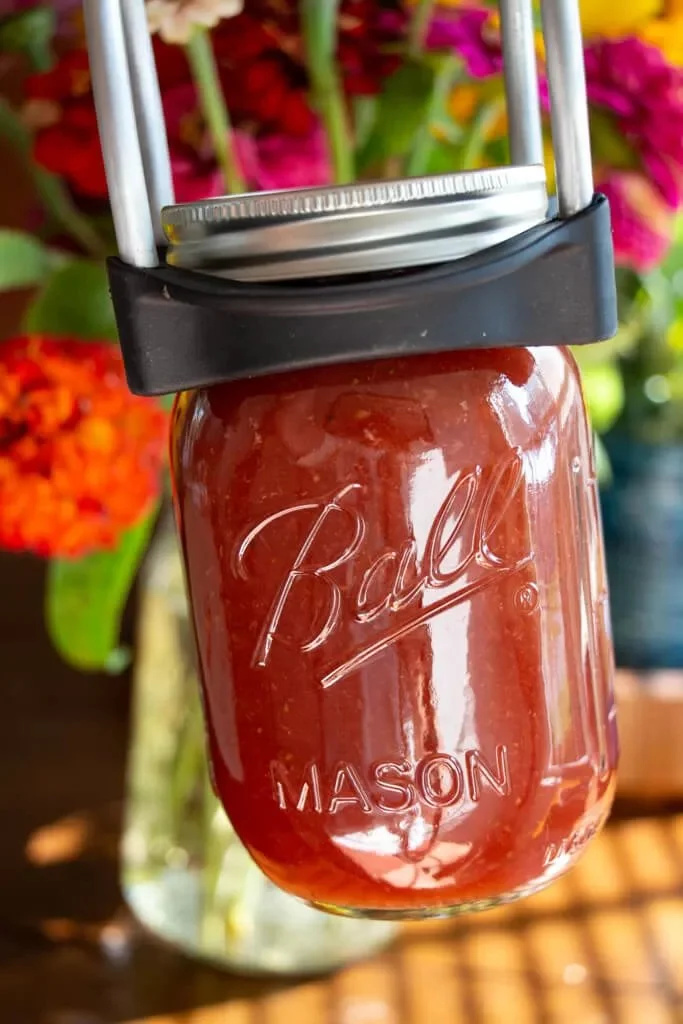
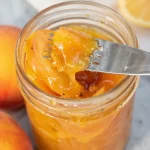
Sweeten Your Day with Honey Sweetened Strawberry Peach Jam
A warm kitchen filled with the sweet aroma of fruit, the sound of bubbling pots, and laughter from family evokes a sense of nostalgia that feels like home. This is the heart of RusticFlavor, a place where we celebrate simple, comforting meals that bring us together. Today, I’m excited to share a delightful recipe for Honey Sweetened Strawberry Peach Jam—perfect for enhancing your breakfast or indulging in those sweet afternoon moments.
So grab your favorite apron, and let’s embark on this sweet journey together!
A Sweet Memory to Savor
Growing up, my favorite summer days revolved around fruit picking with my family. We would venture out to local orchards, the sun kissing our skin while we filled our baskets with sun-ripened peaches and strawberries. The joy of biting into a juicy piece of fruit is something that stays with you, long after the season has faded.
Once home, my mom and I would often gather around our kitchen table, transforming our luscious haul into vibrant jams. I can still hear the chatter and laughter as we stirred the bubbling mixture, the kitchen windows steaming up due to the humid heat. Those moments taught me the beauty of preserving memories through cooking.
This Honey Sweetened Strawberry Peach Jam encapsulates that feeling—a scrumptious way to enjoy summer’s bounty all year long, minus the guilt of refined sugars. So let’s dive into the ingredients and get our hands pleasantly sticky!
Ingredients
Here’s what you’ll need to create this delicious jam:
-
9 cups chopped strawberries
- The star of the show! Strawberries lend a bright, fresh flavor. Look for plump, red ones with a fragrant aroma. If strawberries aren’t in season, you can use frozen berries—just make sure they’re unsweetened.
-
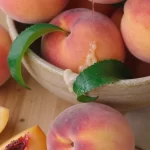
9 cups chopped peaches
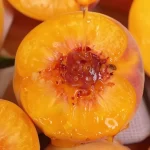
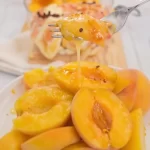
- Another stone fruit gem, peaches provide a sweet and juicy counterpart to the strawberries. Use ripe ones for the best flavor. If fresh peaches aren’t accessible, frozen is a great substitute too!
-
2 cups honey
- I love using raw honey sourced locally; the flavor is just unbeatable. However, since it’ll be heated, any honey (raw or processed) will do. For a vegan twist, consider using maple syrup.
-
1/2 cup lemon juice
- This adds acidity to balance the sweetness and help with preservation. Freshly squeezed lemon juice is best for a bright flavor, but bottle juice works too!
-
Pomona’s Pectin (3 tsp pectin and 4 tsp calcium water)
- A natural thickening agent that helps set the jam without needing a lot of sugar. If you’re looking for a more traditional pectin, there are classic options available as well.
-
2 TBSP white vinegar
- This helps to prevent cloudy jars during canning. Don’t worry about the flavor; it will disappear in the process.
-
Large pot for cooking the jam
- A solid, heavy-bottomed pot works wonders for even cooking—my favorite is a totally bougie jam pot that makes me feel chef-like!
-
Spoon for stirring
- Wooden spoons rule here. They’re sturdy, and somehow, they just feel right for the job.
-
Canning jars with lids and bands
- I always go for half-pints—they’re the perfect size for jam! Don’t forget to check for cracks or chips in your jars before using.
-
Canning funnel
- Essential for filling your jars tidily without creating a mess.
-
Jar lifter
- This nifty tool makes handling hot jars much safer—trust me, you want one!
-
Bubble Popper
- A little tool that helps ensure your jam is free of air bubbles for consistent texturing.
-
Boiling water bath canner
- I often use my pressure canner as a water bath canner. Whatever you have will work fine, but make sure it’s large enough to hold the jars.
-
Clean (damp cloth for wiping jar rims)
- Keeping things clean is essential for successful canning.
-
Potato masher or immersion blender
- Depending on how chunky you like your jam, this tool can give you the perfect texture.
Step-by-Step Instructions
Now that we have our ingredients ready, let’s jump into the cooking process!
-
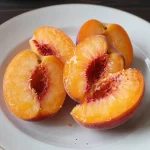
Prepare Your Fruit
- Start by hulling and chopping your strawberries and peaches. For those wrinkly peaches that seem stubborn, a quick dip in boiling water followed by an ice bath will help peels slide off easily. Don’t worry about getting the pieces uniformly chopped—the rustic look is part of the charm!
-
Measure Your Ingredients
- It’s time to measure out 9 cups each of strawberries and peaches—trust me, it sounds like a lot, but you’ll be thankful when you have this stuff ready to spread!
-
Combine Fruit and Honey
- In your large pot, combine the chopped strawberries, peaches, and honey. Stir gently to combine, allowing the honey to coat the fruit beautifully. Let the mixture sit for about 30 minutes. This will help release some of the natural juices. Who doesn’t love a head start on flavor?
-
Add Lemon Juice and Pectin
- After the fruit has had its moment, it’s time to add the lemon juice and prepared pectin. Stir them in well—this will help the ingredients get friendly and start breaking down.
-
Bring to a Boil
- Place the pot over medium-high heat and bring the mixture to a gentle boil. Stir constantly to avoid sticking. You’ll notice the gorgeous color as the fruit starts to break down. Once it reaches a rolling boil, let it bubble away for about 10 minutes.
-
Check the Consistency
- To check if your jam is ready, you can use the plate test: place a small amount of jam on a cold plate, let it rest for a minute, then run your finger through it. If it holds its shape, you’re golden!
-
Prepare Jars
- While the jam’s bubbling away, prepare your jars. Ensure they’re clean and hot. You can do this by running them through your dishwasher or placing them in a hot oven for a few minutes.
-
Fill and Seal
- Using your canning funnel, fill each jar, leaving about 1/4 inch of headspace. Wipe the rims with a damp cloth to ensure there’s no residue—and don’t skip this step! It’s key for a good seal. Place the lids and bands on, tightening them just to fingertip tightness.
-
Process in the Water Bath Canner
- Lower the jars into your canner filled with simmering water. Make sure they’re covered by an inch or two of water. Bring to a boil and process for 10 minutes. Adjust your time based on altitude if necessary.
-
Cool Down
- Once the time’s up, carefully lift the jars using your jar lifter and place them on a clean dish towel. Let them cool completely before checking the seals—press down in the center of each lid; if it doesn’t pop back, you’re all set!
Serving Suggestions
Now that your Honey Sweetened Strawberry Peach Jam is perfectly jarred and cooling, let’s talk about some enjoyable ways to serve this delightful treat!
-
Spread on Toast: The classic! Slather a generous amount on warm, toasted bread or bagels for breakfast bliss.
-
Pancakes and Waffles: Elevate your brunch game by drizzling this jewel over fluffy pancakes or waffles. Add a dollop of whipped cream for that extra flair!
-
Yogurt Parfaits: Layer creamy yogurt with granola and your jam for a delicious, refreshing dessert.
-
Ice Cream Topping: Warm a little jam to make a delightful topping over vanilla ice cream—trust me, it’s worth it!
-
Gifts from the Kitchen: Pretty up your jars with some fabric tops and ribbons, and there you go—an adorable gift for friends or family!
Recipe Variations
Now here’s the fun part! You can play around with this recipe to make it your own:
-
Berry Medley: Add other berries like raspberries or blueberries for a mixed berry jam experience.
-
Herbed Twist: Infuse your jam with a hint of basil or mint for a fresh herbal note that creates a delightful contrast.
-
Spicy Kick: Incorporate crushed red pepper flakes or finely chopped jalapeños for a sweet-and-spicy sensation that’s out of this world!
-
Citrus Burst: Zest in some orange or lime zest to add a bright, zesty flair to your delicious spread.
-
Coconut Flavor: Swap out 1/2 cup of honey for coconut sugar for a unique twist that lends a tropical vibe to your jam.
Chef’s Notes
I like to think of jam-making as a dance—there’s rhythm in the chopping, a crescendo in the bubbling, and sweet harmony in the jar sealing. I remember one particularly chaotic batch where I misjudged the timing and ended up with more jam on the stovetop than in the jars! Lesson learned: patience is key, friends.
Over the years, my jam recipes have evolved, and I’ve realized how flexible they can be. What started as a simple way to preserve fruit has become a beloved tradition in my kitchen. I encourage you to honor that same tradition and infuse your unique flair!
FAQs and Troubleshooting
1. My jam didn’t set! What happened?
- If your jam didn’t set, you may not have cooked it long enough or used enough pectin. No worries—you can reheat your jam, and add additional pectin to achieve that perfect texture.
2. Can I reduce the honey?
- For sure! Just keep in mind that the balance of sweetness and acidity will shift; adjust lemon juice accordingly.
3. How do I store my jam?
- Properly sealed jars can be stored in a cool, dark place for up to a year. Once opened, keep it in the fridge and consume within a month!
4. Is it safe to use jars that didn’t seal?
- It’s vital to catch unsealed jars! They can be reprocessed within 24 hours. Just ensure they’re stored correctly in the fridge and used within a few weeks.

Nutritional Info
(Optional, please add as desired based on nutritional calculations for this recipe, focusing on calories, carbohydrates, sugars, etc.)
There you have it—a delightful, honey-sweetened jam that encapsulates the essence of summer right in your kitchen! I hope you enjoy making this recipe as much as I’ve enjoyed sharing it. Trust me, every jar carries with it warmth and memories just waiting to be created. Let’s make some magic in the kitchen, and remember—whatever you create, it’s always about bringing people together. Happy jamming! 🍯✨
PrintHoney Sweetened Strawberry Peach Jam

A delightful recipe for Honey Sweetened Strawberry Peach Jam made with fresh strawberries and peaches, sweetened naturally with honey.
- Prep Time: 30 minutes
- Cook Time: 30 minutes
- Total Time: 60 minutes
- Yield: 10 half-pints 1x
- Category: Condiments
- Method: Canning
- Cuisine: American
- Diet: Vegan
Ingredients
- 9 cups chopped strawberries
- 9 cups chopped peaches
- 2 cups honey
- 1/2 cup lemon juice
- 3 tsp Pomona’s Pectin and 4 tsp calcium water
- 2 tbsp white vinegar
- Large pot for cooking
- Spoon for stirring
- Canning jars with lids and bands
- Canning funnel
- Jar lifter
- Bubble popper
- Boiling water bath canner
- Clean damp cloth for wiping jar rims
- Potato masher or immersion blender
Instructions
- Prepare your fruit by hulling and chopping strawberries and peaches.
- Measure out 9 cups each of strawberries and peaches.
- Combine the chopped strawberries, peaches, and honey in your large pot.
- Add lemon juice and pectin to the fruit mixture.
- Bring to a boil over medium-high heat and stir constantly.
- Check the consistency of your jam using the plate test.
- Prepare your jars by ensuring they are clean and hot.
- Fill each jar, leaving about 1/4 inch of headspace.
- Process the jars in the water bath canner for 10 minutes.
- Cool down the jams on a clean dish towel.
Notes
Feel free to experiment with different fruits, herbs, and sweeteners to customize your jam.
Nutrition
- Serving Size: 1 tablespoon
- Calories: 50
- Sugar: 12g
- Sodium: 0mg
- Fat: 0g
- Saturated Fat: 0g
- Unsaturated Fat: 0g
- Trans Fat: 0g
- Carbohydrates: 13g
- Fiber: 0g
- Protein: 0g
- Cholesterol: 0mg
Keywords: jam, strawberry, peach, honey, canning, summer
Leave a Reply