
Homemade Peach Jam: A Recipe that Stirs Up Sweet Memories
Hello, friends! It’s Nina here, the heart behind RusticFlavor, and today I can’t wait to share a delightful homemade peach jam recipe that warms the heart and tantalizes the taste buds. If you’ve never made jam before, don’t fret! I’m here to guide you through every bubbling step of the process. Trust me, the results are not only delicious but also a celebration of summer’s sweetest offerings. So, let’s roll up our sleeves and dive in!
A Personal Story: The Peach Orchard Dream
As a child, I remember the summer afternoons spent at my grandparents’ quaint little house, surrounded by a sprawling peach orchard. The scents of ripe peaches filled the air, mingling with the hum of bees buzzing nearby. My grandmother, with her gentle hands and infectious smile, would invite me to join her in the kitchen as she prepared jars of peach jam to last through the winter.
I can still hear her laughter as we danced around the kitchen, stirring fragrant pots while singing old songs. She’d tell me stories about how her grandmother made the best preserves, and I couldn’t wait to recreate those same magical experiences in my own kitchen one day. Making peach jam had always felt special, a way to capture those sweet, sun-kissed summers in a jar, ready to spread joy on warm slices of toast.
Now, every time I make peach jam, I feel that same warmth wrapping around me like a cozy blanket. Let’s dig into how to create your own batch of this nostalgic treat!
Ingredients
Here’s what you’ll need for your homemade peach jam:
-
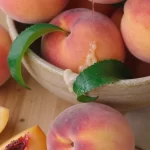
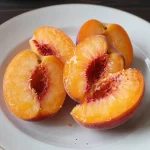
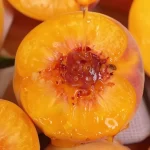
2 cups peaches (peeled and diced)
These juicy gems are the stars of the show! Look for ripe, fragrant peaches; they are perfect for jam. If you can’t find fresh peaches, frozen ones work well too, but be sure to thaw and drain them first. -
1 cup sugar
This sweetener helps preserve the jam and balance the tangy flavor of the peaches. For a healthier choice, you can experiment with honey or a granulated sugar substitute, but keep in mind that the sweetness will vary. -
1 tablespoon lemon juice
Ah, the zesty brightener! This helps to cut the sweetness and enhances the overall flavor. Plus, the acidic nature helps with the preservation. If you’re out of fresh lemons, bottled lemon juice can do the trick.
Let’s get to cooking!
Step-by-Step Instructions
-
Prepare Your Peaches
Start by peeling and dicing your peaches. This part may get a bit sticky, but remember, that’s part of the fun! If you’re struggling with peeling, try blanching them in boiling water for 30 seconds, then plunging them into icy water to loosen the skin. -
Combine Ingredients
In a medium-sized pot, combine the diced peaches, sugar, and lemon juice. Give them a good stir to mix everything together. Let this sit for about 10 to 15 minutes. This waiting game allows the sugar to draw the juices from the peaches, creating a natural syrup. Trust me, this step is crucial for flavor! -
Cook the Mixture
Place the pot on the stove over medium heat. Bring the mixture to a gentle boil, stirring frequently. You want to keep an eye on it; we don’t want the sugar to burn! As it warms up, you’ll start to notice that beautiful peach aroma filling your kitchen—heaven, right? Allow it to boil for about 10-15 minutes until the mixture thickens. -
Test for Doneness
Here’s a little chef hack: grab a plate and place it in the freezer for a few minutes. Once chilled, drop a small spoonful of the jam onto the plate. Wait a few seconds, then run your finger through it. If it holds its shape, you’re all set; if not, keep cooking for a few more minutes. -
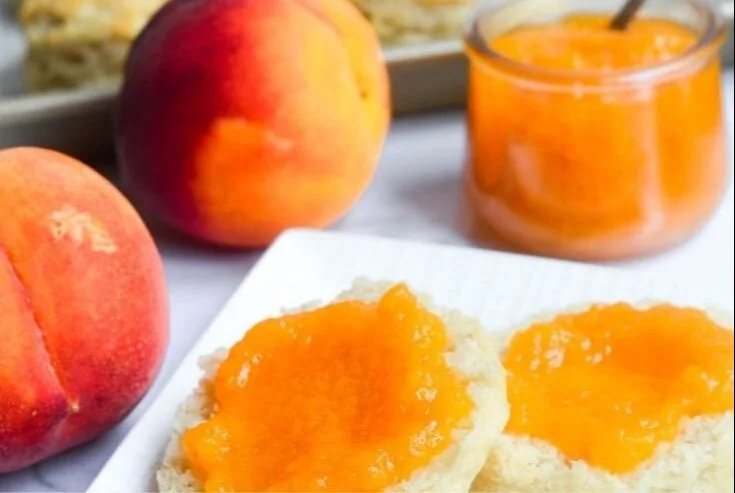
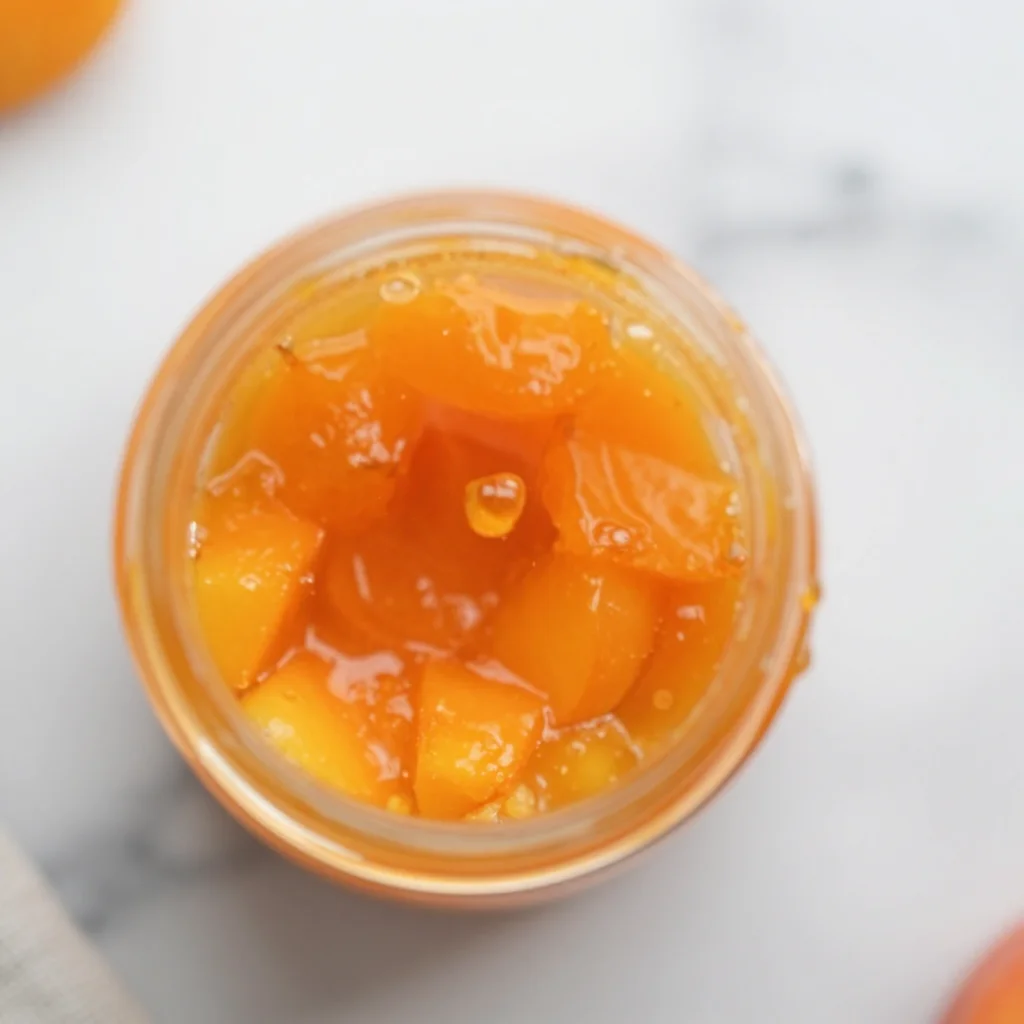
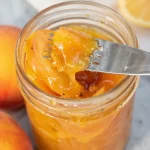
Jar It Up
Once your jam reaches the desired consistency, carefully ladle it into sterilized jars. I like using small jars for gifting—everyone loves a handmade treat! Allow the jam to cool at room temperature, then seal it with lids. -
Store and Enjoy
Your homemade peach jam can be stored in the refrigerator for up to two weeks. If you want to preserve it long-term, consider canning it—just follow safe canning guidelines!
Serving Suggestions
Now that your jam is ready, how do you enjoy it? Here are a few ideas:
- Spread it on Toast: Nothing beats a slice of freshly toasted bread slathered with peach jam and a pat of butter!
- Top Off Your Yogurt: Add a dollop to your morning yogurt or oatmeal for a sweet start to the day.
- Ice Cream Delight: Drizzle it over vanilla ice cream for a gourmet dessert!
- Cheese Board Staple: Pair it with creamy cheeses for an impressive cheese platter that will wow guests.
Recipe Variations
Let’s get creative! Here are some fun twists to try:
-
Spicy Peach Jam: Add a pinch of cayenne or diced jalapeños for a sweet and spicy kick!
-
Vanilla Infused: Stir in a splash of vanilla extract during cooking for a warm, inviting flavor.
-
Ginger Peach Jam: Grate fresh ginger into the mix for a zesty tropical vibe.
-
Mix in Other Fruits: Blend peaches with apricots or strawberries for a delightful combination.
-
Sugar-Free Version: Substitute sugar with fruit pectin designed for no-sugar recipes (just be sure to follow package instructions).
Chef’s Notes
Oh, how this recipe has evolved over the years! Initially, I was terrified of making my jam too runny or too thick, and I’ve had my fair share of kitchen mishaps—like the time I forgot to sterilize jars and ended up with a fruit explosion! But those little bumps along the way made me a better cook, and my love for rustic flavors has only deepened over time.
Remember, every batch you make is an opportunity to connect with that rustic kitchen energy I cherish so much. And if something doesn’t turn out just right? No worries. It’s still your creation, and it carries your unique touch!
FAQs and Troubleshooting
-
Why did my peach jam turn out too runny?
It may not have cooked long enough. Consider boiling it a bit longer to allow more moisture to evaporate, thickening the mixture. -
How can I adjust the sweetness?
If you prefer a less sweet jam, feel free to reduce the sugar by about ¼ cup. Just keep in mind that sugar acts as a preservative, so be cautious with a significant reduction. -
Can I use frozen peaches?
Absolutely! Just ensure they’re fully thawed and drained before starting the recipe. -
How do I know if my jars are sealed properly?
After cooling, press down the center of each lid. If it doesn’t pop back, it’s sealed! If it does, store the jar in the fridge and use it soon.
Now that we’re ready to get jamming, it’s time to harness those sweet summer vibes in your kitchen! Making this homemade peach jam allows you to weave rich memories and flavors while bringing a bit of heartfelt simplicity to your table. Let me know how it turns out!
Happy cooking, and let’s spread love and joy, one jar at a time!
Nutritional Info (optional)
For those curious about the nutritional aspect, approximately 1 tablespoon of homemade peach jam contains:
- Calories: 50
- Total Fat: 0g
- Sodium: 0mg
- Total Carbohydrate: 13g
- Sugars: 12g
- Protein: 0g
Let’s celebrate the magic of homemade delights together! Happy cooking! 🍑❤️
PrintHomemade Peach Jam

A delightful homemade peach jam recipe that captures the essence of summer and is perfect for toasting or gifting.
- Prep Time: 15 minutes
- Cook Time: 15 minutes
- Total Time: 30 minutes
- Yield: 4 servings 1x
- Category: Preserves
- Method: Cooking
- Cuisine: American
- Diet: Vegetarian
Ingredients
- 2 cups peaches (peeled and diced)
- 1 cup sugar
- 1 tablespoon lemon juice
Instructions
- Prepare your peaches by peeling and dicing them. If needed, blanch them to loosen the skin.
- Combine the diced peaches, sugar, and lemon juice in a medium pot and stir. Let it sit for 10 to 15 minutes.
- Cook the mixture on medium heat until it reaches a gentle boil, stirring frequently. Boil for about 10-15 minutes until thickened.
- Test for doneness by placing a spoonful of jam on a cold plate; if it holds its shape, it’s ready!
- Jar the jam into sterilized jars and cool at room temperature before sealing.
- Store the jam in the refrigerator for up to two weeks or follow canning guidelines for long-term preservation.
Notes
For variations, try adding spices, infusing with vanilla, or mixing in other fruits.
Nutrition
- Serving Size: 1 tablespoon
- Calories: 50
- Sugar: 12g
- Sodium: 0mg
- Fat: 0g
- Saturated Fat: 0g
- Unsaturated Fat: 0g
- Trans Fat: 0g
- Carbohydrates: 13g
- Fiber: 0g
- Protein: 0g
- Cholesterol: 0mg
Keywords: peach jam, homemade jam, fruit preserves, summer recipes

Leave a Reply